This post was originally published in May 2018 but was updated in October 2021 to include newer models.
Gerber has a long history dating back to 1939. The brand has evolved over the years — undergoing some ups and downs as some of the best designers and knifemakers around left the company to start their own ventures.
Gerber has been relatively quiet the past few years, releasing an assortment of higher-end knives mixed with brand-new budget designs. None have really stood out from the bunch, and plenty of the older models that were great have been discontinued.
It’s been a rocky two decades, but Gerber seems to be on firm footing by doubling down on their best knives. Here is a look at Gerber’s 10 best knives currently in production.
Note: As always, these best-of lists are highly subjective. However, I do my due diligence through personal experience as well as consensus from around the internet. These lists will always skew toward the tried-and-true models, but new models will always make the jump.
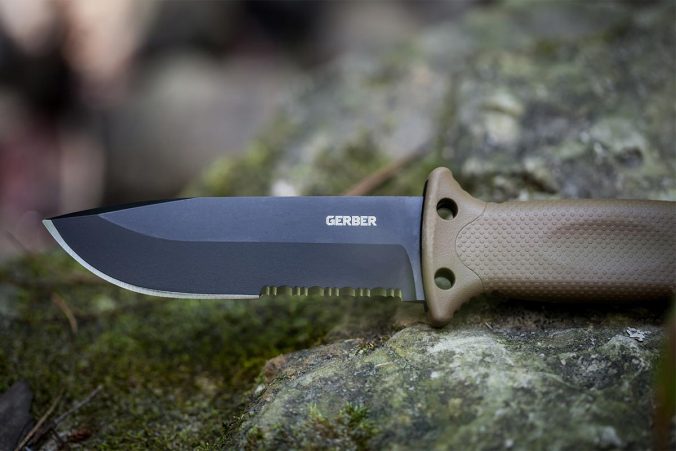
1. Gerber LMF II Infantry
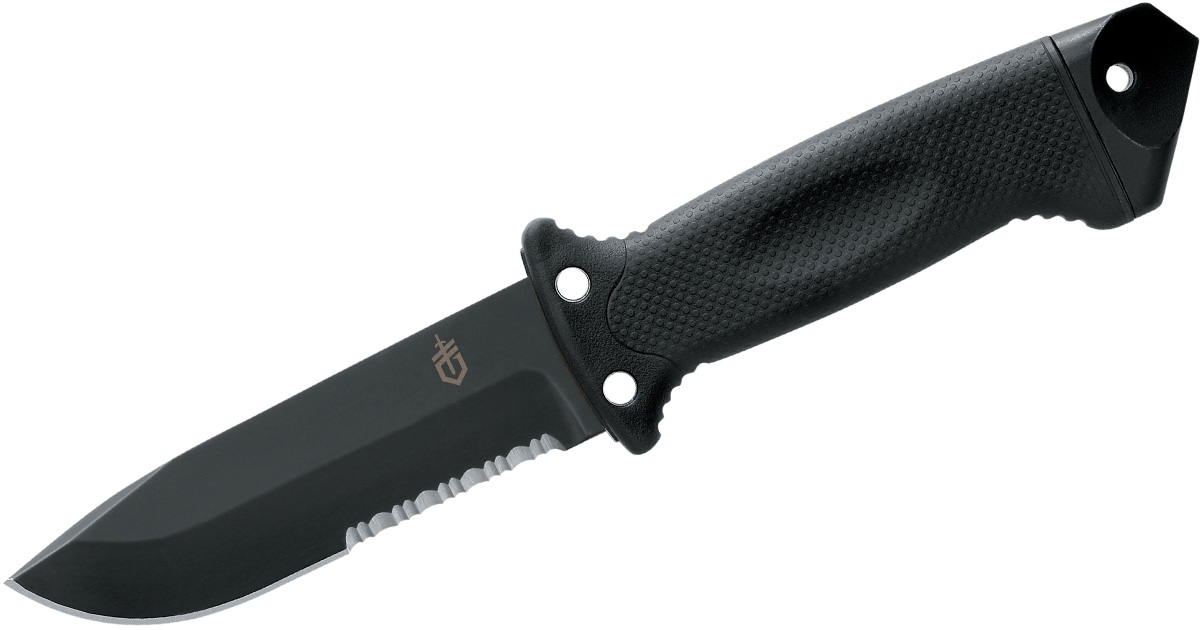
Gerber has remade itself over the past few years thanks to three very reliable (and pretty similar) fixed blades. The Gerber LMF II has an undisputed spot on this list for good reason. Gerber says the knife was originally designed to free an aircrew from a downed aircraft, and it remains an adaptable fixed blade that can be used in all types of situations.
The blade is 4.84 inches made from 420HC stainless steel. It has partial serrations and glass-filled nylon with TPV overmold handles.
You can see all the Gerber LMF II Infantry variations here.

2. Gerber Gator
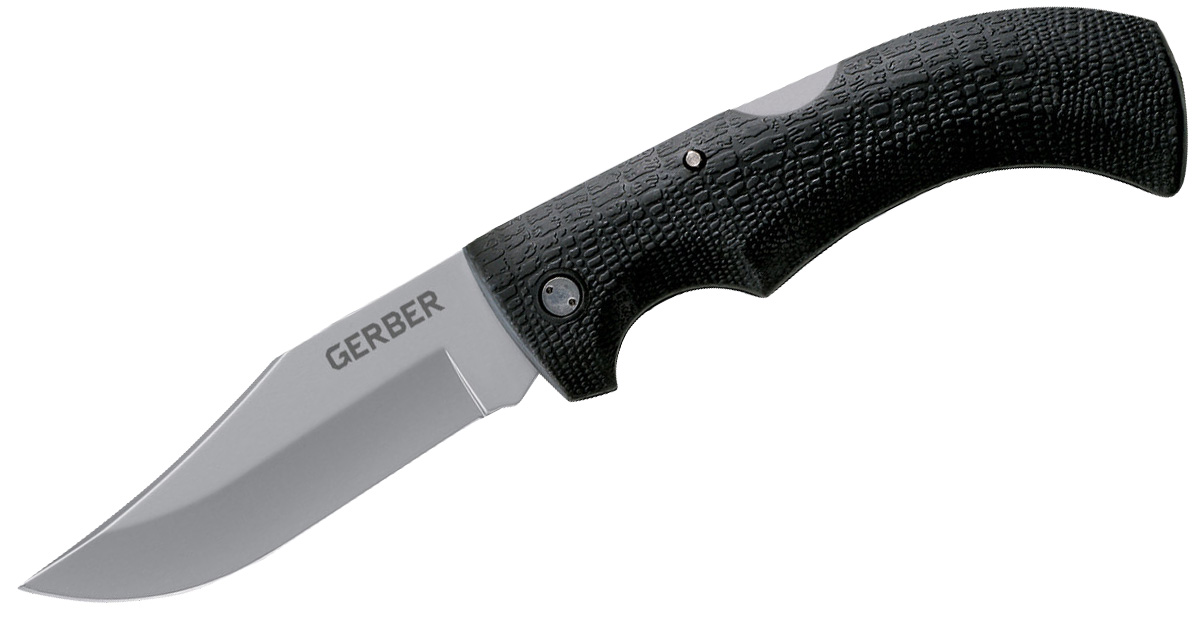
This list is heavily populated with perennial favorites, and the Gerber Gator is no exception. It was first introduced in the early ’90s when it was named “Most Innovative Knife of the Year” at the 1991 Blade Show. Despite being so old, the knife remains one of the best Gerber has to offer.
Continue reading