The Cutting Edge

The official blog of Knife Depot

Category: How To (page 1 of 4)

How to Identify an Old Knife

So, you picked up an awesome knife for $3 at a yard sale, or maybe your grandfather handed down his favorite blade, and now you’re curious about what it is — and what it’s worth.

Unfortunately, identifying a knife and determining its value can be trickier than it sounds. But if you’re looking for a good place to start, keep reading.

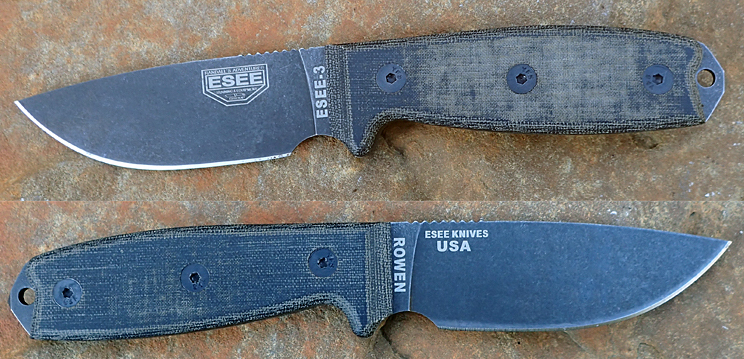
1. Find identifying marks or symbols

The first — and most obvious — step is to look closely at the knife itself.

Search for any symbols, initials, or maker’s marks on the blade or handle. These marks are often the calling cards of brands or individual knifemakers and can range from simple logos to scribbled signatures.
If there’s no marking, there’s a chance the knife could be a clone.

Sometimes a quick Google search of the markings is all it takes.

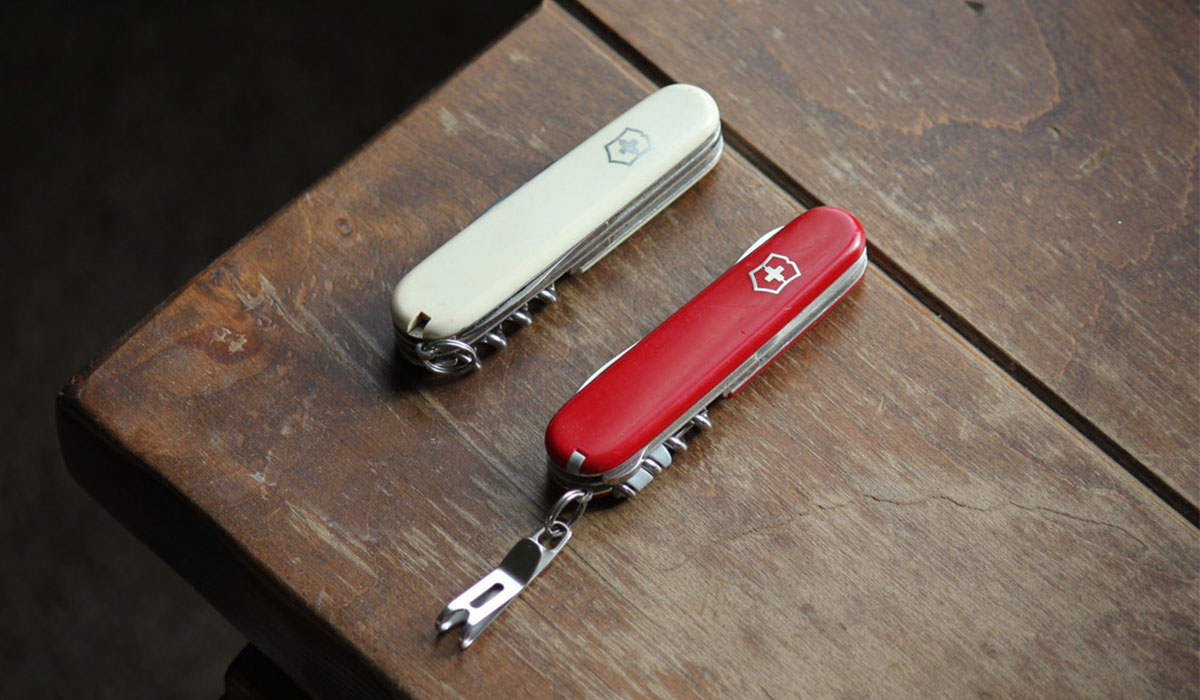
For example, let’s say you stumble upon an old slipjoint that looks like an antique with this marking:

A search will reveal it was an early 20th-century company. From there, you can hop over to eBay and find that their knives can range from $20 to $350, depending on the model.

2. Get a reference book

You might think the Internet has all the answers, but many antique knives aren’t well-documented online.
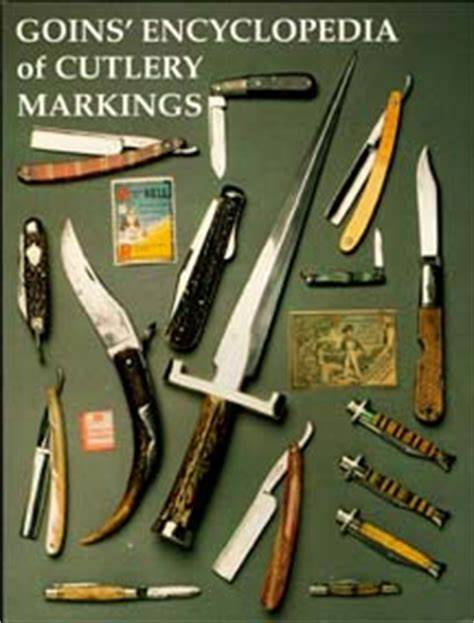
That’s why seasoned collectors still swear by reference books. A standout is Goins’ Encyclopedia of Cutlery Markings — a massive compilation of historic maker’s marks.
Although it’s out of print, Knife Magazine may offer an online version for subscribers. It’s worth reaching out to them for access.

Other helpful books include Randall Knives: A Reference Book and many regional guides.

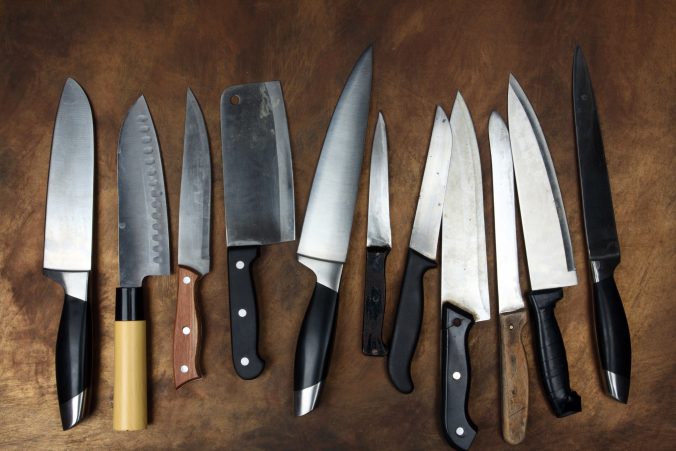
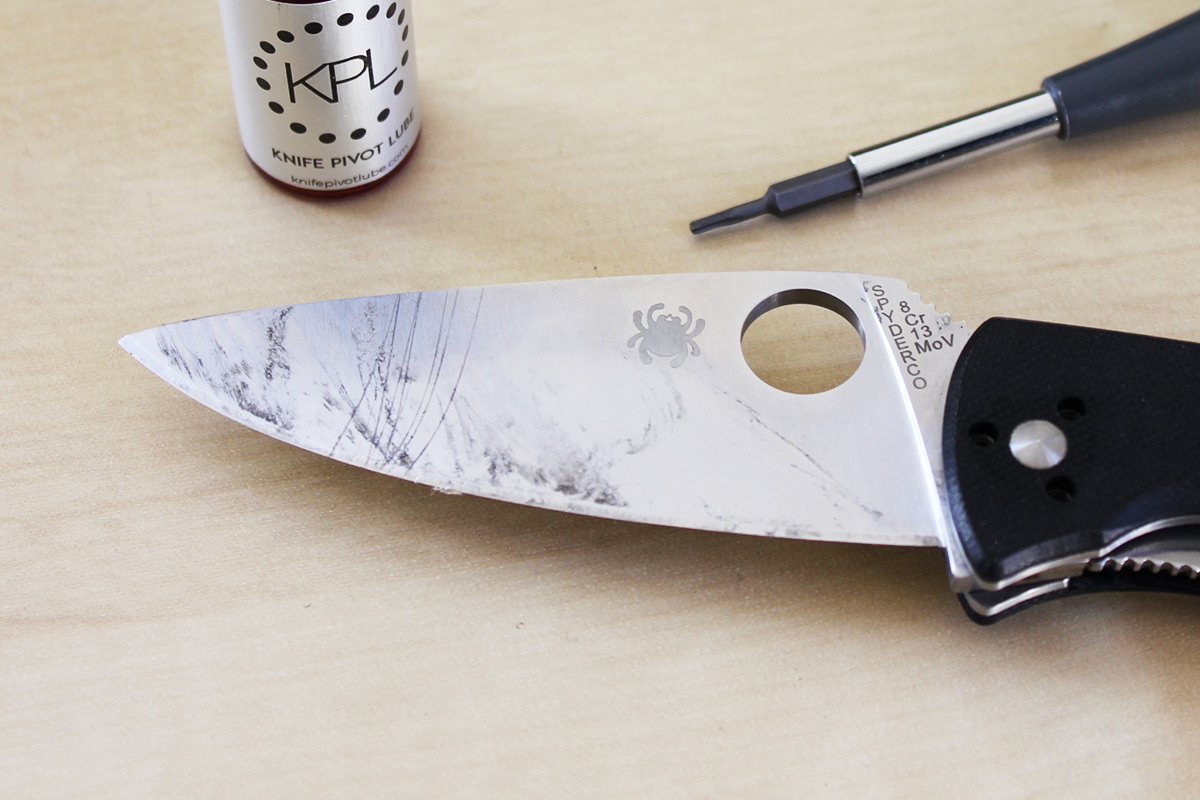
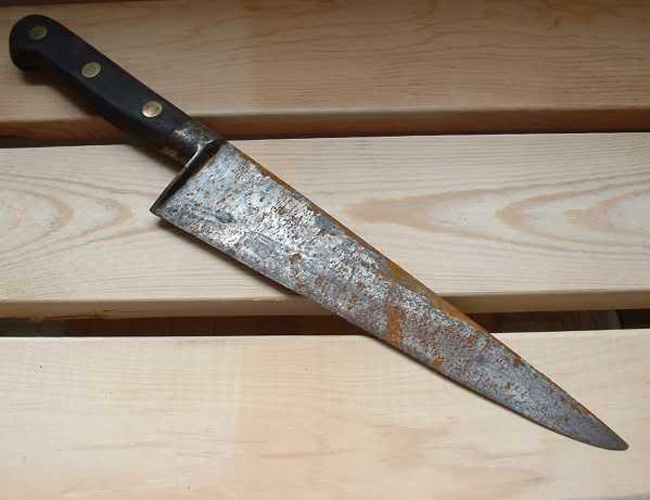
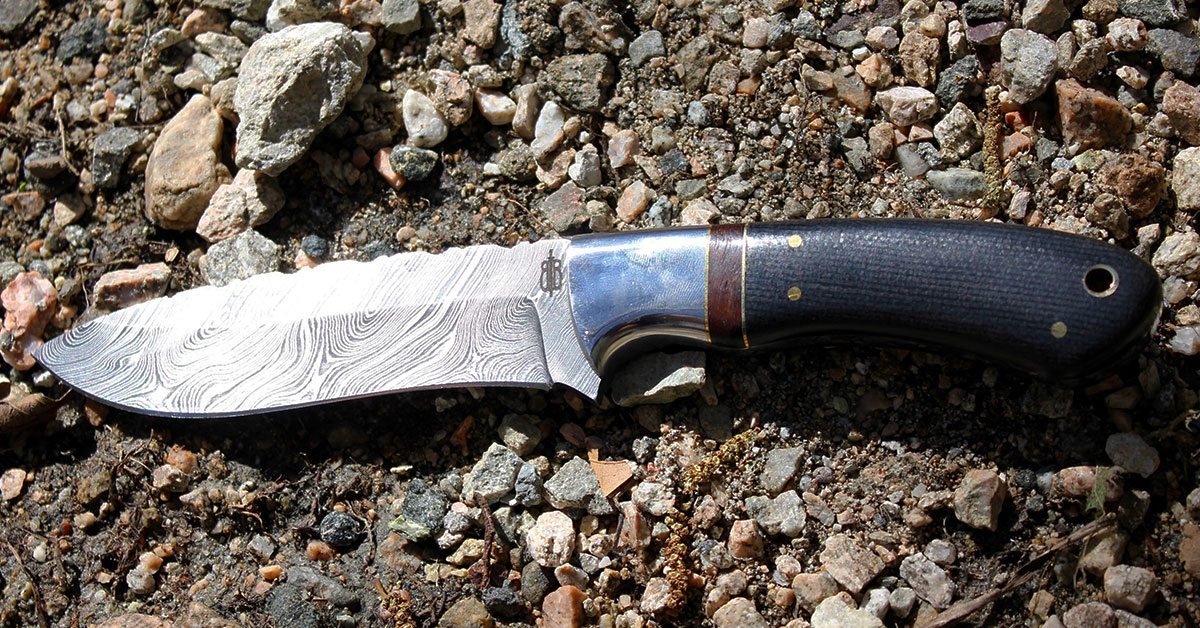
3. Analyze construction and materials

If there’s no clear identifier, you can still narrow things down by studying how the knife was made.

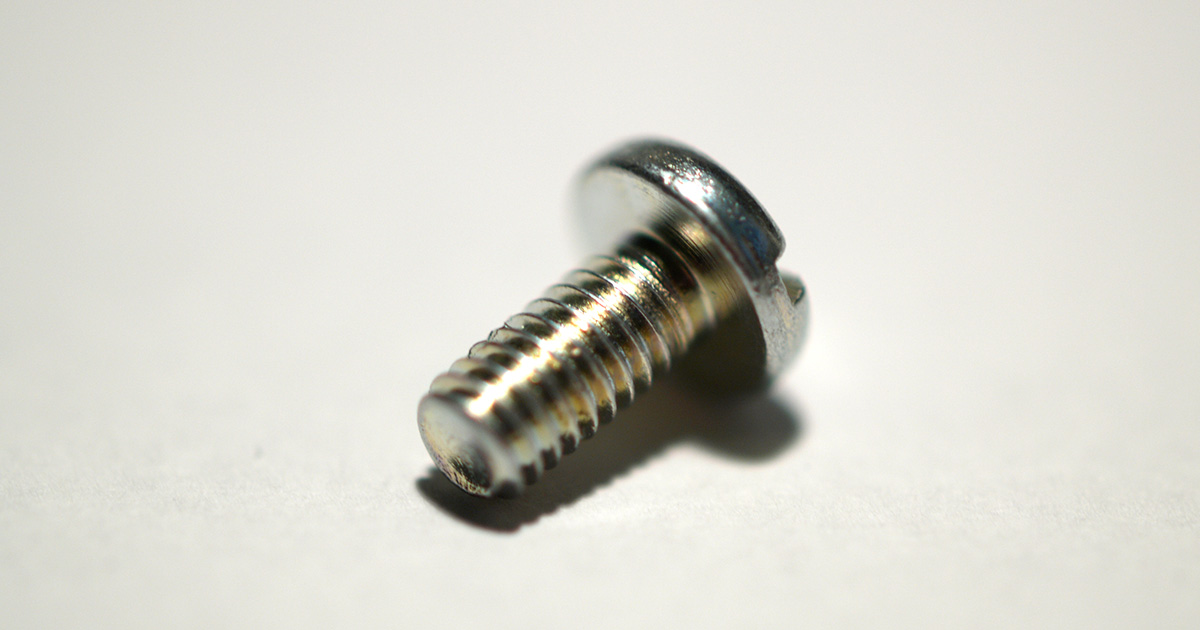
Specific types of locks, blade shapes, handle materials, and overall craftsmanship can hint at the knife’s origin and era.

For example, if you have a knife with a specific type of lock, you can usually narrow the date it was manufactured with a little research. You could also narrow down where it was made by looking at its style and influence.

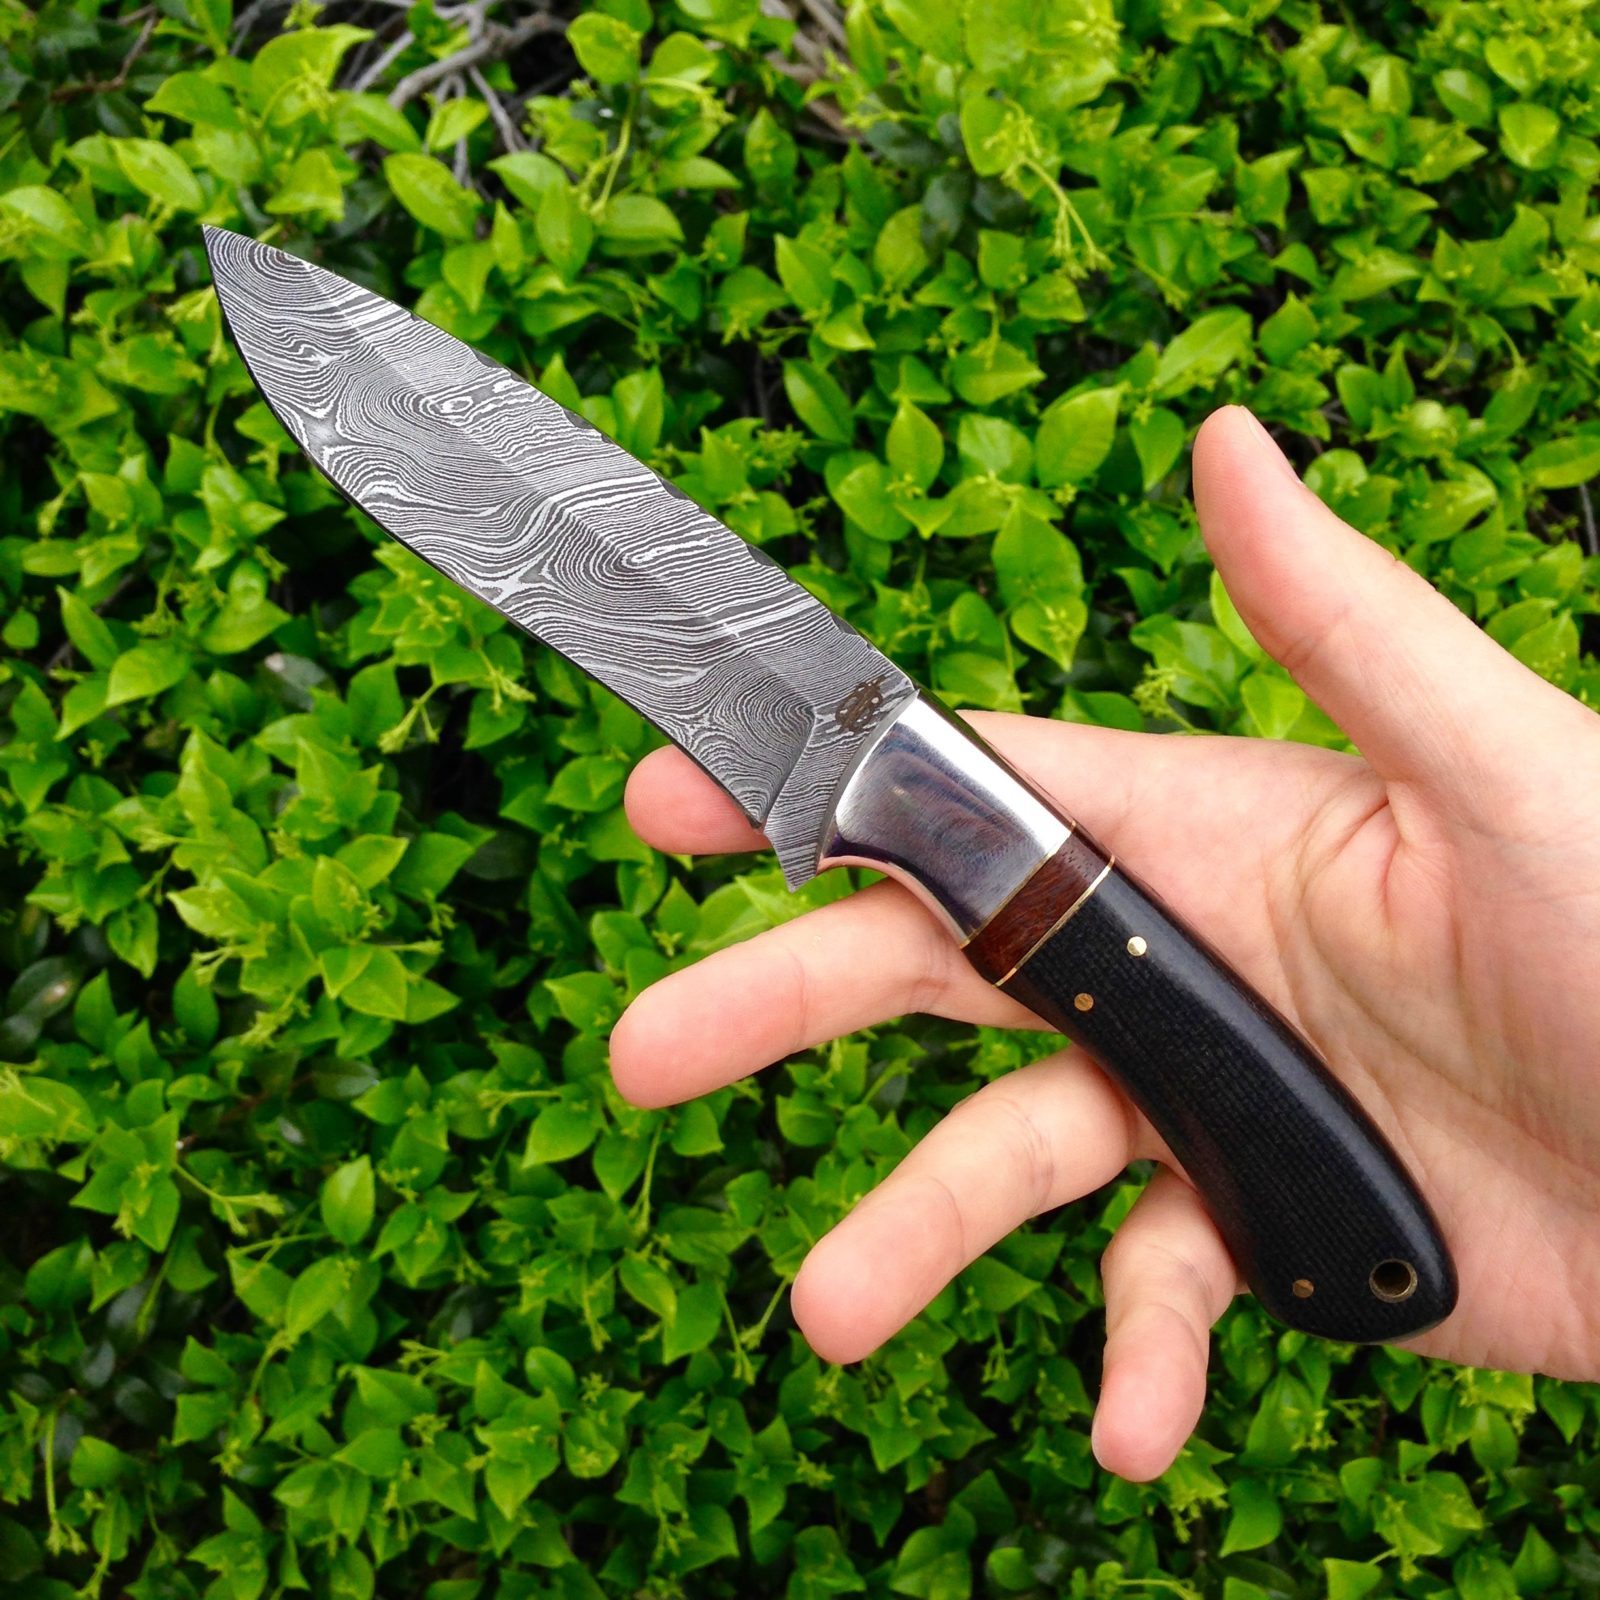
If the materials feel cheap, the construction sloppy, or the knife seems like a copy of a famous design, chances are it was mass-produced in China or Pakistan — which usually means lower monetary value.

Good knives have tight tolerances, solid construction, and durable materials.

4. Browse through eBay

Even if you haven’t identified the knife yet, browsing eBay can help.
For instance, if you think you have a stockman knife — a traditional three-blade folding knife — try searching “vintage stockman knife bone handle.”
You may stumble upon an exact or similar match, giving you clues about its identity and value.

Pay attention to both listed prices and sold prices for the best idea of market value.

5. Post your picture on websites

If you’re still stuck, try tapping into the collective knowledge of knife enthusiasts online.
Forums like Blade Forums and subreddits like r/knifeclub, r/knives, r/bladesmith, and r/KnifeID can be great resources.

Tip: Always include clear, detailed photos and as much information as you can — size, weight, materials, and any visible markings.

Just keep in mind that frequent “what is this?” posts can wear thin, so be respectful of each community’s rules.

Help identify mysterious knife
byu/superbeefwithcheese inknifeclub

6. Go to a knife expert

If all else fails — and especially if you suspect the knife could be rare or valuable — it’s worth talking to a knife expert, antique dealer, or museum curator.

Sometimes truly special knives require an experienced eye to identify and appraise properly.

How to Master the Art of Butterfly Knife Tricks in a Few Easy Steps

Knives have been used as weapons and tools for thousands of years and are some of the oldest that human society has ever seen. Not all knives were created equal, though.

Originally known as the ‘Balisong,’ the butterfly knife is a Filipino tool that was originally designed for both self-defense and basic utility. Today, though, they’re a popular choice among collectors due to the number of tricks you can perform.

While these may seem impossible at first, they’re entirely doable with enough practice.

Not sure where to start? Don’t worry, we’ve got you covered.

Let’s take a look at everything you need to know about butterfly knife tricks.

Before You Begin…

It’s likely that you’re going to fail tricks numerous times while learning them. Unfortunately, failing with a butterfly knife doesn’t always mean dropping the blade or performing the trick slowly/incorrectly.

It’s relatively easy (and common) for beginners to fold the blade onto their hand or finger. Depending on the sharpness of the blade, this could either be a minor knick or a trip to the emergency room.

So, consider taping the edges of your knife in order to dull the surface while you’re practicing. Alternatively, there are butterfly knives designed with safety in mind that you can use to practice with.

Once you’ve decided which safety precaution is right for you, you’re ready to move onto learning a few basic tricks.

Flip Opening

This is likely the first trick you’ll attempt to learn (as you should since it allows you to open the knife!) Although the end result of a flip opening is holding the knife stationary in your hand, the actual process is often mesmerizing for onlookers.

To begin, hold the closed knife in your dominant hand. Your grip should be loose, and your focus should be on the handle that the back of the blade points to.

Swing the knife open until the other handle touches the back of your hand. It should look like an arcing motion. Then, rotate the handle so that the blade is pointing the same direction as your thumb.

Complete the same motion again (which is similar to casting a fishing line in reverse). Afterward, ‘cast’ the knife forward and it should be fully open. Then, place your thumb around both handles to secure your grip.

This will likely seem confusing at first. But, you can practice each segment of the move in slow motion until you master the basics.

Flip Closing

As the name implies, this is the same concept as flipping the knife open (but in reverse).

Once you’ve mastered the open flip technique, you’ll have an understanding of how to perform this one. It’s important, though, to remember to keep your palms open wide enough to hold both handles when you flip it closed.

Otherwise, you’ll run the risk of injuring your fingers when you begin to perform the trick with a sharp-bladed butterfly knife.

Aerial

This will likely come as a big jump from a conventional flip open. The good news is, though, is that mastering a flip open/close will familiarize you with the mechanics of your knife. This will allow you to manipulate it at a more proficient level.

To begin, hold the opposite handle as you would for a flip open. This is the same handle that would let the blade cut you if it closed on you.

Point the knife straight outward so that the knife could open on its own if you let go due to gravity. This is where the move gets complicated.

Perform an upward motion with your wrist as you drop the second handle (the one that is currently holding the knife closed) and let go of the knife. the leverage and momentum of the swinging handle will cause the knife to rotate in midair.

After a full rotation, you can catch the knife in its open position.

Not only is this move far flashier than a flip open, but it’s also much quicker to perform.

Pinwheel

This knife move is notorious for being portrayed in media. If you’ve ever seen a film where an antagonist brandishes a butterfly knife before combat, you’ve more than likely seen a pinwheel performed.

The backhand variant of the pinwheel, in particular, is rather intimidating, so it makes sense as to why they would write this action into a movie.

For the sake of simplicity, though, we’ll focus on the forehand pinwheel.

Hold the knife as you would if you were beginning to perform an aerial. Let the knife open on its own, but don’t let go.

With an upward flick of the wrist, use the momentum to swing the open handle over to the back of the handle you’re holding. As you do this, point your thumb and index finger outward so that the handles can touch freely.

Now, perform the same motion again. The thing to watch out for here, though, is that the sharp side of the blade will be flipping toward your hand. So, it’s imperative that you ensure your fingers aren’t in the way.

Over time, you’ll be able to perform this movement quickly and repeatedly (which is what makes it appear so intimidating).

Learning Butterfly Knife Tricks Can Seem Intimidating

It may seem hard to get started and learn what you need to know for these tricks, but it doesn’t have to be.

With the above information about butterfly knife tricks in mind, you’ll be well on your way to mastering the basics and moving on toward advanced techniques.

Want to learn more about how we can help? Feel free to get in touch with us today to see what we can do.

The Complete Guide on How to Sharpen a Knife and Not Damage the Blade

Collecting knives is a hobby that millions of people participate in. When your knives see frequent use, though, they’ll begin to dull over time. This is true even for the average kitchen knife.

Eventually, the cutting edge of the blade won’t work like it used to, and you’ll need to sharpen it back to its former glory with a steel or stone knife sharpener. Interestingly enough, not every knife collector knows how to sharpen a knife.

Not sure where to start? Don’t worry, we’ve got you covered.

Let’s take a look at everything you need to know about knife sharpening.

Why Do I Need to Sharpen My Knives?

If you use your knives on a regular basis, it only makes sense to keep them as sharp as possible whether they are straight edges like a chef’s knife or serrated knives. As you may expect, this will allow you to make sure they cut cleanly as they’re intended to.

A sharper knife will allow you to cut more precisely, which gives it far more utility over one that’s dulled over time. Interestingly enough, though, a shaper knife is actually safer than a blunt knife.

A dull knife can still cut, but it requires much more force to do so. A single slip or misstep could easily lead to injury with the amount of force behind the side of blade.

How Can I Tell If A Knife Needs to Be Sharpened?

Fortunately, it’s fairly easy to tell if your blade has become too dull and you need to sharpen your knife. You can test it through three simple methods:

  1. It can’t easily slice through a sheet of paper (the paper test)
  2. It can cleanly cut through a tomato and smashes it instead
  3. It can’t cut through the outer skin of an onion

If it fails any of these tests, it’s likely time for you to look into sharpening your knife’s blade.

How Can I Sharpen My Knife?

Although the process can seem intimidating to complete on your own, it’s a relatively simple process that doesn’t take too much preparation.

In general, there are three ways you can go about this process:

  1. Using a whetstone
  2. Using an electric sharpener
  3. Using a manual sharpener

Let’s explore each one in-depth in order to get a better understanding.

Sharpening With a Whetstone

Before you use a whetstone, you’ll need to figure out the ideal sharpening angle for your blade. You can check your manufacturer’s website for more details, as this may vary from knife to knife.

In general, though, you’ll likely need to sharpen at a 20-degree angle.

To begin, completely submerge the stone in water for approximately 5 to 10 minutes. This should be enough time for any air bubbles to disappear.

Then, place the stone on a flat surface with its coarse side facing the ceiling. Afterward, place the blade on the stone at the correct sharpening angle. Make sure, though, that the blade is facing away from you.

With one hand on the knife’s handle and your other hand on the flat surface of the knife, apply a small amount of pressure and slowly drag the knife across the stone. Be sure to maintain the angle of the blade.

Eventually, a small bit of metal will begin to form over the edge of the entire blade. At this point, repeat the sharpening process on the other side of the knife.

Afterward, flip the whetstone over and fully sharpen both sides again to complete the process.

Sharpening With a Manual Sharpener

Manual sharpeners have two slots you’ll need to focus on: coarse and fine.

Beginning with the coarse slot, slowly pull the entire knife through while exerting an even amount of pressure. Four to six pulls should be enough, but older/damaged blades may require more.

Afterward, pull two or three times through the fine slow in order to finish the process. To test if your blade is sharp enough, use one of the three aforementioned methods (the sheet of paper is often the most convenient).

Sharpening With an Electric Sharpener

This process is highly similar to manual sharpening, but the result is often better for those who are inexperienced.

As with a manual sharpener, you’ll want to pull the blade through the coarse slot four to six times. But, you’ll want to alternate sides with each pull.

Afterward, repeat the same process with the fine grit slot on the electric sharpener.

If the blade isn’t quite as sharp as you’d like, repeat the above steps for half as many pulls in order to finish up.

How Can I Sharpen a Serrated Knife?

It may seem complicated at first to sharpen a knife with so many edges, but the process is almost the same.

It’s not recommended to use a whetstone. But, a manual or electric sharpener are both viable options. Make sure, though, that you only use the ‘fine’ slot on either one to ensure the blade isn’t damaged.

How Often Should I Do It?

In general, you’ll likely only need to sharpen your knives every 6 to 12 months. With heavy use, though, you may find that your blades dull quicker than this.

To keep your knife as sharp as possible between full sharpenings, use the fine slot on a manual or electric sharpener after every use or two.

Understanding How to Sharpen a Knife Can Seem Difficult

But it doesn’t have to be.

With the above information about how to sharpen a knife in mind, you’ll be well on your way to keeping your blades in the best condition possible.

Want to learn more about how we can help? Feel free to get in touch with us today to see what we can do.

Cut Like a Chef: Effective Methods to Improve Your Knife Skills

Prepping and cooking food at home is the top way to save more money and eat healthier. Yet, this doesn’t mean you have to sacrifice on chef-inspired meals. 

To cook like a culinary master, it’s essential to learn how to use kitchen knives. Certain techniques make it faster, easier, and more efficient to prep food.  

So, ready to learn how to cut, chop, slice, and dice like a chef? Read on to learn more about how to master your knife skills. 

Choose the Right Knife for the Job

It’s key to know the difference between your knife types. A kitchen knife set includes pieces for almost every job in the kitchen. 

A few knife types include bread, steak, paring, and fillet. Boning knives, carving knives, and butcher knives are other styles a chef should own. You should hone your chef knife skills for each of these knife types. 

Yet, there is one knife style that is king when it comes to prep work. A chef’s knife is a multi-functional knife that is used for more than one task in the kitchen. It’s ideal for chopping, slicing, dicing, and mincing foods like meat and vegetables.

Chef Knives

This style of knife has a pointed tip with a longer blade design with a slight curve. The blade’s tip allows a chef to create a rocking technique as they cut. This is ideal for the quick chopping of fresh herbs, garlic, and onions.

The design allows you to keep the tip of the knife touching the cutting board as you chop. Chef’s knives are a bit heavier, which makes it easy to cut and score meat.   

Santoku Japanese Chef Knives

A Santoku knife is ideal for creating fine clean cuts at a fast speed. It lets you master knife techniques for cutting seafood, meat, vegetables, and fruits.

The knife has a flatter and wider blade design and is lighter than a chef’s knife. Its tip is down more towards the end of the blade.

Santoku knives help remove food from the cutting board into your cooking pan. Some of these knives also have depressions on the blade called a “Granton edge.” This works to create less friction to stop food from sticking to the knife as you cut.  

Keep Your Blades Sharp

Any knife guide for better care will tell you to always keep your blades in top condition. Sharp blades make it easier and more efficient when chopping food. A dull blade will lead to a much longer food prep process and can also be unsafe.  

Experts recommend sharpening your knife every few months. You have a few different knife sharpener options to consider for this. You can use a manual knife sharpener tool or an electric knife sharpener.  

Chef’s knives may call for more sharpening sessions. They are often made from softer steel than Santoku knives. 

Proper kitchen cutlery storage options are also important when caring for your knives. You can use a knife block to protect the blades when not in use. This also keeps your kitchen environment safer. 

Magnetic knife strips, knife bags, and sheaths are other options. When cleaning your knives, hand-wash them with mild soap and hot water.  

Hold the Knife in a Comfortable Position

Proper knife cutting techniques also include learning how to hold a knife. This is key for having confidence in the kitchen. 

Be sure to use the right grip when handling your knife. The hold should not be too firm and should fit comfortably in your hand. This allows you to perfect your cutting method and be as quick and safe as possible. 

It’s best to use your index finger and thumb to grip the handle of the blade. Hold the handle up higher with your two fingers touching the base of the blade. The rest of your hand then holds onto the actual knife handle.  

Holding the knife at elbow-height will also give you better control. When holding food to be cut, be careful of the way you keep your hand.

Use a claw-like grip to hold food as you cut with the knife in your other hand. This keeps your fingers out of the way of the knife’s blade.  

Use Consistent Cuts 

Certain knife cuts call for different techniques to prepare food. It always helps to cut round food in half, like onions and potatoes. This gives you a flat surface to work with making it easier and safer to cut. 

A slicing technique involves long thin pieces. Position the knife’s tip on the cutting board at an angle. Then move the food toward the blade as you bring the knife down in a repetitive chopping or sawing motion. 

Chopping is less consistent than other cutting methods. The chunks are made a bit larger and more bite-sized.    

Dicing can be done in large, medium, or small pieces. Yet, the key is to keep the food cuts as consistent in size as possible. Aim for cubes about a quarter-inch in size.  

When mincing, you want to cut the food up as fine as possible. It’s most often used for garlic, ginger, and onion. 

Preparing food julienne means making matchstick-sized cuts. These should be about an eighth of an inch thick. 

For brunoise style, you dice foods that have first been cut julienne-style. The result is small cubes about an eighth of an inch in size.   

The chiffonade technique is most often used for greens and herbs. It cuts them into thin ribbons for a salad or garnishes.  

Perfecting Your Knife Skills With the Right Set of Tools

These knife skills will teach you to be a master chef in no time. The right tools, techniques, and knife care are key when learning to prep food like a professional. 

A quality chef’s knife is one of the main tools to have in your kitchen. Browse the full collection of chef’s knives to find one that suits your cooking style. 

How to Stop Losing Your Swiss Army Knife

The other day, I wrote about the welcomed news that Victorinox is adding a clip to a new folding knife called the Hunter Pro M. It doesn’t mean the iconic maker of Swiss Army Knives will add them to their multitools, but it could be a sign of the future.

Unfortunately, we’re still stuck in a world where losing a Swiss Army Knife is all too common for many people. I always find them on the seat of my car or in couch cushions.

Here are some solutions for keeping a Swiss Army Knife from getting lost.

Get a Suspension Clip

The best and most inexpensive remedy to the problem of Swiss Army Knives slipping out of pockets while sitting down is a suspension clip. Not only are these types of clips cheap but they’re also nonpermanent solutions that won’t mess up your knife.

My recommendation is the KeySmart Pocket Clip.

Continue reading

How to Thoroughly Clean Your Pocket Knife

I love cleaning around the house. Maybe that makes me a bit odd, but it provides much needed time to unwind, zone out, reflect on your life, or listen to great knife podcasts.

What’s even better than cleaning the house is cleaning a pocket knife.

But how do you actually do a good job cleaning a knife?

I made sure not to clean my Spyderco Tenacious (which I use constantly around the house) for a while so I could write this post for you.

To Disassemble a Knife or Not

The first thing you have to consider is whether to fully disassemble the knife or simply clean the blade and take care of the pivot from the outside.

Here are some thoughts on that. If you want to do a thorough job or you haven’t cleaned the inside for a while, you should take the whole thing apart. Depending on the knife, it won’t take up too much time and gets the knife back to tip-top condition.

However, if you’ve cleaned the inside recently or feel only the blade is dirty, you can skip the disassembly.

Cleaning the Blade

There are many different ways to go about cleaning a blade. Most knife enthusiasts have their own recipes or preferences.

Continue reading

How to Tell If You Have a Real Damascus Steel Blade

Real Damascus Steel Knife

The knife world is, unfortunately, no stranger to fakes and frauds.

From people on eBay trying to pass off $400 Sebenzas as authentic to sellers on Amazon unknowingly peddling fake CRKTs and SOGs, counterfeit knives are everywhere. While I recently wrote a guide on how to spot a counterfeit knife, it didn’t address another popular question — is my Damascus knife a fake?

Damascus knives have exploded in popularity over the years, popping up everywhere from top-tier brands like Spyderco (think the Endura and others) to smaller names like BucknBear.

What makes people even more confused about the legitimacy of Damascus steel are the massive price differences. How can a $50 Damascus knife be “real” when other Damascus blades are priced at $500 or more?

Let’s dig deeper.

What is Damascus?

Before we get into spotting fakes, it’s important to understand what Damascus steel actually is.

Damascus is known for its distinctive wavy patterns—an exotic, almost hypnotic look that’s instantly recognizable. But getting that pattern the right way comes down to two types of “real” Damascus steel:

Continue reading

How to Remove a Stripped Screw

If you use your knives at all, disassembly is a necessity for cleaning and maintenance. Even if you’re just switching your pocket clip from a tip-down to tip-up carry, you’ll sometimes run into a major problem: stripped screws.

So what are you to do if that screw is stuck or stripped inside your knife?

Here are a few solutions, which are not mutually exclusive.

Buy Quality Torx Bits

First, stop what you’re doing and make sure you have quality bits. Using low-quality bits is a recipe for stripped screws and won’t do much in removing the screw from the knife.

Cheaper bits use softer metal that can bend and ultimately strip the screw you’re trying to get out. Your best bet is to spend a little extra money on something more reliable. Wiha is always dependable, and I’ve heard good things about Wera tools too.

Heat the Screw with a Soldering Iron

This is the first thing you should do after getting quality bits. In fact, this is something you should probably do to any screw on your knife even before it’s stripped.

The reason? Loctite.

Continue reading

How to Get Rust Off the Blade of Your Knife

Rusty Kitchen Knife

Whether you’ve found a knife in one of your old toolboxes or accidentally left your favorite knife outside in the rain, chances are you have encountered a nasty case of rust.

While some old-school knife users believed a little rust was the mark of good, high-carbon steel, the truth is that rust weakens the blade, ruins its looks, and can even make it unsafe to use.

(See a knife you like from our catalog, just enter the code below for 10% off. No signup required. Thanks for stopping in!)

First Timer

We originally wrote this post way back in December 2011, but we thought it’d be a good idea to do update it with some better information, videos, and recommendations.

What is Rust?

Rusty Iron Chain

If you’re just here for rust removal tips, feel free to skip ahead — but understanding why your blade rusts can help you prevent it in the future.

Let’s start with the basics: rust is actually iron oxide, the reddish-orange flaky substance that forms when iron reacts with oxygen and moisture. And it doesn’t take direct water contact — even humidity in the air can be enough.

Here’s a more scientific explanation from How Stuff Works:

Iron (or steel) rusting is an example of corrosion — an electrochemical process involving an anode (a piece of metal that readily gives up electrons), an electrolyte (a liquid that helps electrons move) and a cathode (a piece of metal that readily accepts electrons). When a piece of metal corrodes, the electrolyte helps provide oxygen to the anode. As oxygen combines with the metal, electrons are liberated. When they flow through the electrolyte to the cathode, the metal of the anode disappears, swept away by the electrical flow or converted into metal cations in a form such as rust.

Why Do Knives Rust?

Here are the ingredients for rust: iron, water, and air.

Continue reading

How to Spot a Counterfeit Knife

This week is International Fraud Awareness Week.

The global effort to raise awareness and minimize the incidence of fraud is wide reaching. Although you may not think fraud affects you so much, fraud reaches every facet of society — whether it’s fraudulent products, fraudulent charities, and those scams we see peppered in every comments section.

While many think knives are safe from fraud, there’s a huge industry of fraud surrounding knives, and it’s important to be aware.

We’ve written about how to spot counterfeits before in an old post, but I thought we’d update with some additional information and tips.

Signs of a Counterfeit Knife

Let’s take a look at a few telltale signs that you may have bought a counterfeit knife. One of these alone isn’t necessarily evidence but can be an indication.

Sign #1: Deals that are too good to be true.

People always mention this as a surefire sign of a counterfeit knife — which is a knife with all the branding of an original but from a different source. If a deal is too good to be true, it probably is.

It may be tempting to see a $150 knife sold for $50 and think, that’s a deal I can’t pass up! Unfortunately, no one is going to sell a knife for that cheap if it’s the real deal.

When it gets harder is when people sell the $150 knife for $120. Although the discount isn’t as steep, it is a discount, especially if people claim it’s new or out of the box.

Sign #2: You bought from a disreputable vendor.

eBay

Don’t take this the wrong way, but eBay is a cesspool of criminals and con artists looking to make a quick buck off of you. While it’s possible to find good deals on eBay, the auction site has a poor reputation as a hotbed for counterfeits in the knife community.

Well-done ESEE-3 fake

Even buying knives at or near the original price is not indication that it’s legitimate. Even seeing the images on the site may not be reliable, since they could have taken a picture of the real thing and then send the fake.

Continue reading

« Older posts

© 2025 The Cutting Edge

Theme by Anders NorenUp ↑

123