The Cutting Edge

The official blog of Knife Depot

Category: How To (page 2 of 4)

How to Keep a Knife Clip From Tearing Up Your Pocket

9_538305

To many, it’s a badge of honor. To some, it’s a nuisance. To others, it’s not even a problem.

Pocket knives have been known to accentuate outfits, but they’ve also been known to destroy clothing.

Yes, I’m talking about that old problem in which a knife’s clip shreds the top of your pocket.

In case you haven’t seen this phenomenon, CRKT posted this image to their Instagram page a few weeks back:

#KnifeProblems

A photo posted by Columbia River Knife and Tool (@crkt_knives) on

Sure, the picture is all in good fun, but anyone who carries a knife on a regular basis will know that over time, a clip may ruin a pants pocket.

If you’ve encountered this problem or want to avoid this problem, here are some things you can do.

Bend the clip

One reason a pocket may become destroyed is due to the fact that the clip is way too tight. Certain manufacturers make clips pretty tight to make it a little more difficult for others to slip it out of your pocket without you knowing.

Continue reading

How to Get Tape Residue Off Your Knife Blade

We’ve entered the bizarre and convenient era of online buying. Thanks to companies like Amazon and Knife Depot, I get packages sent to my doorstep almost every day. Whether by a preprogramming from childhood or a general excitement, I simply can’t wait to tear open the box to see my new prize, even if it’s just a nonstick cake pan.

In my rush to open the box, my knife is what takes the most abuse. Whether because I’m impatient (or my wife is doing the opening), my knives always end up with a pile of tape gunk that doesn’t come off in warm water.

So what’s a man to do?

We’ve got that answer for you below.

Method 1: WD-40

WD-40 with Swiss Army Knife
Even though tape residue seems to be embedded on a blade, it’s actually fairly easy to remove. You have a number of options to take them off, but we’ll show you two different ways to remove the residue and the pros/cons. The first method we’re going with is the WD-40 way.

Continue reading

How to Protect Your Knife From the Heat

July was the hottest recorded month in U.S. history, and with climate change seemingly past the point of no return, it will likely only get hotter.

For knife enthusiasts out there, excessive heat has always been an enemy of temperamental steels. So, to help you take care of your knife in the heat, here are some great ways to protect your knife from warping.

Avoid direct sunlight

This one is definitely common sense, but it’s absolutely vital to never leave your knife in direct sunlight. While most steels will not be damaged due to exposure from the sun, many handle materials will lose their shape and strength.

Keep knives out of cars

Temperatures inside sealed vehicles in direct sunlight can soar upwards of 135 degrees, so always take your knives out of your car. A great way to remember to do this is to put your knives inside a toolbox and simply take it out and put it in your garage when you’re parked for the day.

Keep special handle materials indoors on hot days

Whether you have a custom knife with an ivory handle or a standard factory knife with a wood handle, it’s important to keep your knives with sensitive handle materials indoors. Even exposure to the sun for a few hours while you’re using it could dry out some handle material.

Continue reading

How to Display Your Knife Collections

So, you just bought a highly collectible KA-BAR at an auction and you’re eager to show it off. While you could probably carry the knife and pull it out when it casually comes up in conversation, it’s not the safest thing to do with a collectible knife. Fortunately, there are a variety of display options for knives.

Whether you’re interested in displaying a collection of knives you have stored under your bed or have one knife you want to put on your mantle, here are some tips for how to display your collection of knives.

Arrange your knife collection

The first thing you should do is gather all your knives together and organize them. Some will be the knives you use as your EDC and others will be knives strictly for display. Consider excluding your EDC so you don’t have to keep disturbing the collection. Once you have the knives you want to display, organize them. This is a matter of preference, but some of the ways to organize knives are by brand, year, size or style.

Choose your display case

There are a number of display cases out there specifically designed to showcase your knife collection. For example, there are presentation boxes, shadow boxes and other types of display cases. Again, the type you select is all a matter of preference. It also depends on how many knives you’re planning on putting in it. Some presentation boxes only have enough room for a single knife.

Lock ’em up

Continue reading

How to Care For Knives with Wooden Handles

Whether you have a custom knife with a handle made from desert ironwood or a set store-bought steak knives, caring for knives with wooden handles requires more care than steel handles.

Since wood is a natural material, it’s susceptible to rotting, splintering and other issues if not taken care of properly. There are also two major types of wooden handles you should pay attention to: those that are stabilized and those that are not.

Stabilized wooden handles have all of the pores, holes and extra space filled in with resin to make the wood waterproof and generally less likely to warp. The knives that haven’t been treated can swell and crack with exposure to too much water. However, knives that aren’t stabilized tend to retain more of the natural wood feel and look.

Despite the differences, here are some tips you should remember when caring for knives with wooden handles.

Do not put the knife in a dishwasher

Putting a knife with a wooden handle—even if it’s a steak knife—in the dishwasher is a death sentence. Exposing the knife to so much abuse, moisture and temperature changes will cause the knife to shrink and/or swell, meaning your knife will get blemishes and other unpleasant traits.

Do not soak the knife

If there’s grime stuck on a knife, don’t even consider soaking it in water. Wooden handles can become water damaged.

Avoid prolonged exposure to direct sunlight

Continue reading

How to make a spear from a survival knife and channel your inner Fred Flintstone

We’ve all been there before: lost in the deep recesses of the woods, with nothing more than a trusty survival knife and an insatiable desire to build a badass spear.  Whether you’re looking to pick up a new survival skill or simply channel your inner Fred Flintstone and impress some friends, spears are not only handy, they’re also downright cool.

Here’s the blow-by-blow on how you can build a spear from a survival knife.  Check out our tips and let us know what you think.

Find a good stick

First, you’ll need to look for a sapling or a stick that’s approximately five feet long.  It’s crucial that your stick is strong, so spend a few moments slashing and waving it around to ensure it’s comfortable and durable.  If you think you found a winner, then chose the flatter side of the stick for the back and the other for the point.

Cut and Shave

Now that you’ve got your wood, hold it downwards at a 45° angle and place your knife approximately 4 inches from the back of the stick. Proceed to shave the stick down at a 45° angle and rotate the stick in your hand so that all edges are sharp and even.  Continue this process until the stick forms a sharp point.

Harden in Fire

Now, you want to place your spear point over the hot coals of fire, rotating it for a few minutes.  This will dry out the wood, making your spear sharper.

Create the Shelf

Find another sapling between 3 and 5 feet.  You will need to cut off the ends to ensure that the stick is flat.  Press your knife on the stick with the whole blade point over the edge and make a mark on on the stick where the blade handle ends with your knife.

Add the Knife

Split the stick in half lengthwise down to the point you made at the end of the knife handle.  From here, use a knife to cut off half of the stick to create the shelf.  Now, lay the knife in the shelf, with the handle on top and the blade sticking out the end of the stick.  Lastly, lash the knife with rope, cord, twine or any other material available and unleash your most primal scream.

Check out the video below for a cool visual tutorial?  Got a better version?  Let us know in the comment section below.

How to Channel Your Inner Ninja

A ninja is the ultimate fighter. He is stealthier than a tiger hunting his prey. He can camouflage as though he is invisible. Most importantly, he can finish off his enemy with one fell swoop from his blade of choice.

If you’re reading this,  it’s unlikely you’re much of a ninja, but more likely you’re a big-time knife fan sitting on the couch.  No worries.  Here are a few ways you can channel your inner ninja.

Throwing Star
When the Samurai sword fails, a ninja has his handy throwing stars to rely upon.  Ninjas don’t use these as primary weapons. They are meant to distract the enemy, while a more dangerous weapon is used for fighting. These little guys aren’t just shaped like stars, and they are always concealed. So be careful – you may not know when you’ve encountered a throwing star until a sword is coming close behind!

Of course, you can use throwing  stars for recreation,  as tossing them into targets makes a great hobby.

Throwing Knife

Throwing knives are the less common version of a throwing star. Even though they have just two blades, instead of four, throwing knives are a badass way to get into top-flight ninja shape.  Buy a set of throwing stars and blow away onlookers at your next BBQ

Sword
The sword is the most important weapon a ninja can carry. The typical ninja sword used in movies and depicted in books is short and heavy – more of a blade than a sword. It is perfect for ninja combat. Historically, there is actually no proof that this standard ninja sword existed.  However, experts agree that it would look like this because ninjas would have carried an easier-to-wield version of the standard samurai sword and this modern image fits that need.

Continue reading

How to fight effectively with a tactical knife

The post is part of our Rambo Knife promotion, in which we’re giving away a limited edition Rambo knife and more.  Check out our kick off post for details.

Knife fighting is a primal, dangerous and beneficial skill to have. Not only does it help you connect with your tactical knife in new ways, but it also gives you some respect. In this post, we’ll be looking at some of the very basics of tactical knife fighting. With our usual warning, we urge you to be safe and don’t try any of this around another person. So, if you’re interested in fighting effectively with a tactical knife, here are some of the basic elements.

1. Get to know your knife

The first step before you do anything should be to become familiar with your knife. Learn its weight, shape and texture before engaging in any training. By knowing your knife’s quirks and intricacies, it will never surprise you in a real fighting situation.

2. Learn the grips

How you hold your knife is probably the most important thing to know when learning knife fighting because without a firm grip, you could drop the knife and find yourself in deep trouble. Unfortunately, there is no one universal way you’re supposed to hold your knife, so that’s why it’s important to get to know your knife. Some knives feel more natural in certain grip positions.

The grips can be separated into three broad categories: forward grip, reverse grip and unusual knife grips. Within each of these categories are a number of variations, including the hammer, saber and Filipino grips. According to a booklet on U.S. Marine Corps knife fighting tactics, the hammer grip is preferred over all others because it enables a variety of tactics. For a detailed description of each grip, check out Jay Fisher’s site.

Continue reading

Developing Kitchen Knife Skills: How to Cut a Chili Pepper

No longer are chili peppers limited to spicy Mexican and Tex-Mex dishes. The small, green peppers can be found in everything from steak marinades to mashed potatoes. If you don’t know how to handle them, you are keeping yourself from trying great new recipes. Plus, you miss out on an easy way to add some pizazz to basic dishes of your own.

If you have avoided hot peppers in the past, however, we understand. Knowing how much spice the peppers have can be intimidating if you don’t know how to cut them properly. To help you avoid burning your skin or mouth and to introduce you to the world of cutting chilies, we got back with Kathy Maister, who helped us out on the How to Slice an Onion post. Ms. Maister’s site StartCooking.com is a great resource for busy people who are just learning to cook.

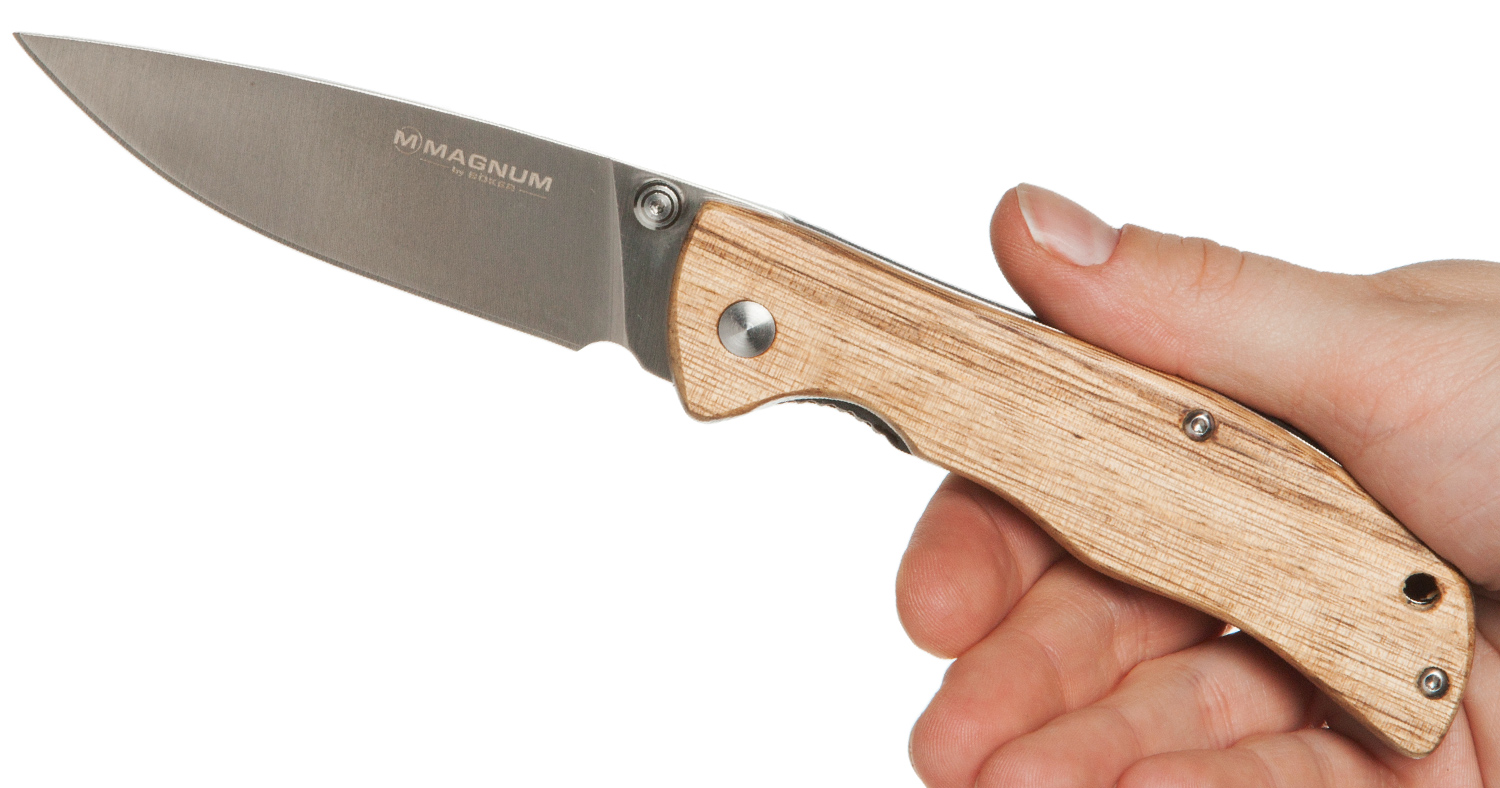
Grab your paring knife

Remember when we told you that Ms. Maister had three knives she couldn’t live without? Those were her paring knife, serrated knife, and chef’s knife (she commented on the onion article emphasizing that these must be “sharp!”). If you were wondering why the tiny paring knife is a necessity for the kitchen, here is your answer. Cutting any small pepper is the perfect use for a paring knife. The short, pointed blade makes it easy to deftly cut and seed a pepper.

Be careful!

Peppers get their spiciness from oils that are primarily in the seeds and ribs. When you cut into a pepper, you run the risk of getting these oils on your hands. Because of this, many people wear kitchen gloves while handling peppers. Gloves are not necessary, but, if you choose not to wear them, be mindful of your hands. Try to avoid contact with the ribs or seeds and clean up well when you finish cutting.

Cut the pepper in half

Cut the pepper in half with your paring knife. You can now see the whitish colored ribs inside the pepper.

Seed the pepper

By taking out the seeds and ribs, you are removing most of the pepper’s heat. There are two ways to go about seeding. When using a paring knife, hold the stem of a pepper half and slide the knife underneath the rib. Moving away from the stem end, slide the knife down the sides, popping out the rib and seeds. If any seeds are left behind, scrape them out with the blade’s backside. Ms. Maister says you could also seed the pepper with a spoon or melon baller – just scoop out the insides!

Slice the pepper lengthwise

Once you’ve seeded the pepper, you can chop it. Cut strips going lengthwise on the pepper half. Space the strips according to the size you want. If you are chopping, make larger spaces, but if you are mincing, the slices should be closer together.

Slice the pepper across

Now, slice the pepper in the opposite direction. Space your slices just as you did in the last step. Repeat with the other side. You should now be left with a chopped, diced or minced pepper that is ready to be tossed into your dish!

Clean up

The pepper’s oils can linger on your skin and underneath your fingernails for many hours. If you didn’t wear gloves, make sure you wash your hands with water AND soap after you finish handling the pepper. Even after a good scrubbing, Ms. Maister says you should avoid touching your mouth, nose or eyes just to be safe. The oils would hurt badly if they started to burn you here!

Know your peppers

Since so many hot peppers can be easily confused, it’s good to know what different ones look like and how spicy they are. Ms. Maister has a great list of peppers with their pictures and heat index on her site.

Developing Culinary Knife Skills: How to Dice an Onion

There are a few basic skills that are necessities in the kitchen. If you’re a home cook in training, you’ll have to master these or always be faced with stumbling blocks when you cook. Don’t get too intimidated, though; many of these culinary steps have to do with cutting, dicing, or chopping staple ingredients. And if you’re a Knife Depot fan, it’s probably safe to assume you know a bit about knives. This means it shouldn’t take too much to make sure you’re comfortable putting away your Bowie knife and sharpening your kitchen knives.

To help you in this learning process, we reached out to Kathy Maister, the woman behind StartCooking.com. Her website is a wonderful guide for learning the basics of cooking and picking up some easy, tasty recipes. We asked Ms. Maister about one of the most basic skills: dicing onions. Diced onions are a regular part of recipes, but many people are unsure how to tackle the root veggie. Here are Ms. Maister’s tips on choosing the right knife for the job, dicing onions, and cleaning up after the job.

Choosing your knife

There are three knives Ms. Maister couldn’t live without: a chef’s knife, a serrated knife, and a paring knife. That said, she also recommends you dice the onion using whatever knife with which you feel the most comfortable. If you’re choosing from her trio of knives, the chef’s knife has the length and strength needed to help you get through a big onion. So as long as you aren’t worried to use the big knife, it’s a great choice!

Cut off the stem end

Take a look at your onion. There are obviously two ends: the root and the stem. To identify which is which, look for the stringy roots hanging out of the skin; that’s the root end. The stem end protrudes and is usually covered in skin. Cut about half an inch off the stem end.

Cut the onion in half

Stand the onion upright on its now-flat end. Cut it vertically in half from the root to the bottom.

Peel the onion

The uncertainty of how to hold an onion while cutting is what makes onion dicing a daunting task for so many people. On her website, Ms. Maister shares a really easy trick for using the onion’s skin as a holder. It changes the way you peel the onion, so read the steps first. However, if you don’t share in the conundrum of how to hold an onion, go ahead and peel it. With the cuts you have made, the skin should peel off easily. Frequently, the top layer of the onion will also come off – this is fine.

Make slices towards the root

Point the knife blade towards the root end and make vertical slices to within ½” of the root. Ms. Maister uses ¼” spaces between cuts for chopped onions as a size guideline. Since diced is the middle ground between chopped and minced, make your cuts only slightly less spaced out than ¼”.

Make horizontal slices

If you used Ms. Maister’s trick for making a holder out of the skin (like we did), this is when you’ll be holding it. Otherwise, hold the onion by the root end and make sure you keep your knuckles in to avoid nicking yourself with the knife. Now, cut parallel to the root, slicing all the way through the onion. Keep your slices spread out the same distance as you did in the last step.

Repeat and voila!

Repeat these steps with the other onion half. Because of the natural rings, you now have easily diced onions!

Washing your knives

Ms. Maister recommends that you wash your knives by hand. Use a soapy sponge and always keep the blade pointed away from you.

« Older posts Newer posts »

© 2024 The Cutting Edge

Theme by Anders NorenUp ↑

123