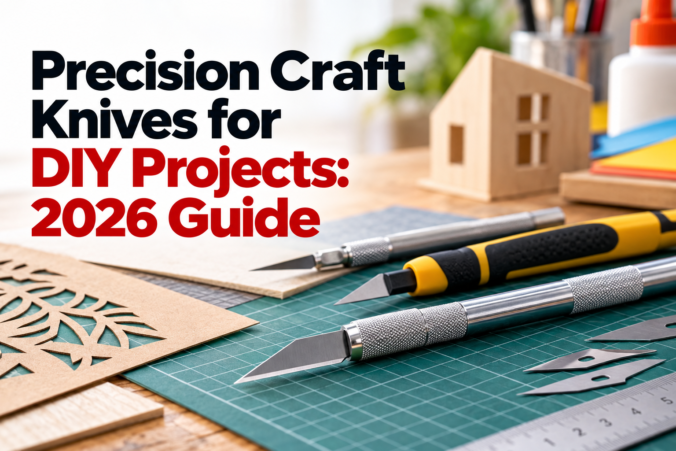
TL;DR: – The #11 pointed blade is the standard for paper, cardstock, and vinyl detail work; curved (#22) and chisel (#26) blades handle leather and foam scoring
- A 100-pack of #11 blades costs $8–$9, making per-blade cost roughly $0.08–$0.09 – replace every 20–30 cuts on cardstock or when drag appears
- Precision knives cost $8–$50 depending on handle material; mid-range options ($15–$25) offer the best value for hobbyists
Introduction
You’re staring at a stack of cardstock for your DIY project. A regular utility knife tears the edges. A box cutter is overkill. What you need is a precision craft knife – but which one?
Based on our analysis of craft knife product documentation, retailer specifications, and ergonomic safety research collected through 2026, this guide cuts through the noise. We’ll match blade types to specific DIY materials, show you the real cost of blade replacement, and walk you through safe workspace setup so you can execute clean cuts without the frustration.
Exacto-style knives are essential tools for anyone working in crafting, paper art, hobby projects, model making, cosplay, woodworking, and vinyl cutting. The precision craft knife market reflects growing demand for specialized cutting tools that deliver professional-grade results in home workshops.
What Makes a Knife “Precision” for DIY Work?
A precision craft knife isn’t just a smaller utility knife. It’s engineered for control, not power.
Precision knives have thinner blades and shorter handles than a utility knife, making them ideal for a variety of specialized tasks such as cutting mat boards, carving designs on wood, trimming paper, and more. The blade angle, tip geometry, and handle diameter all work together to let you execute intricate cuts on delicate materials.
As the What is a Craft Knife? Elements to Consider – Slice Blog notes, crafts require cutting many different materials, and your all-purpose knife should handle them all well – with cuts that are clean and controlled rather than ragged or torn.
Here’s the practical difference:
| Feature | Precision Craft Knife | Utility Knife | Box Cutter |
|---|---|---|---|
| Blade thickness | Ultra-thin (0.5mm) | Standard (0.8mm) | Thick (1.2mm) |
| Best for | Paper, vinyl, foam, leather | Drywall, cardboard | Heavy cardboard only |
| Blade angle control | 30–75° adjustable | Fixed ~45° | Fixed ~90° |
| Handle diameter | 8–12mm | 12–16mm | 16–20mm |
| Blade swap time | 5 seconds | 10–15 seconds | 20+ seconds |
A straightforward blade changing system allows blades to be changed in 5 seconds or less. That matters when you’re switching from paper to foam mid-project.
Real DIY use cases:
- Paper snowflakes for wall art: Requires a #11 pointed blade at 35–45° angle with 2–3 light passes
- Foam board model building: Needs a #26 chisel blade at 60–75° to score without cutting through
- Vinyl decal application: Uses a #11 blade at 30° with steady, single-pass pressure
Key Takeaway: Precision craft knives excel at detail work on thin, delicate materials. A utility knife is overkill for paper and cardstock – and a box cutter can’t handle anything finer than heavy cardboard.
Which Blade Type Should You Use for Each DIY Project?
This is where most DIYers get stuck. You buy a knife, it comes with one blade, and you assume it works for everything. It doesn’t.
The #11 fine-point blade is the most common blade type used with standard precision knives. But “most common” doesn’t mean “best for your project.”
Pointed Blades (#11 Style): Best for Fine Detail Work
The #11 is your workhorse. Sharp, pointed tip. Ideal for intricate cuts.
The #11 fine-point blade is ideal for paper, thin plastic, cardstock, light wood, vinyl. Use it for:
- Cutting stencils from cardstock
- Trimming vinyl decals
- Detailed paper art (origami, scrapbooking)
- Light scoring on mat board
Blade material matters: High-carbon steel holds a sharper edge longer but rusts if exposed to moisture. Stainless steel resists corrosion but dulls slightly faster. For dry craft projects, high-carbon wins. For humid workshops or wet media, stainless is safer.
Replacement frequency: Replace blades when drag appears (typically 20–30 cuts on cardstock), not on a fixed schedule. Dragging – not cutting cleanly – is your signal.
Curved and Chisel Blades: Best for Carving and Scoring
Not every project needs a pointed blade.
The curved #22 blade provides optimal control for cutting leather, rubber, and foam materials where curved strokes are needed. Use it for:
- Leather crafting and tooling
- Curved cuts in foam board
- Rubber stamp carving
- Decorative scoring on cardstock
The #26 chisel-edge blade is best used for cutting softer woods like balsa, as well as thick foam and scoring applications. The flat bevel lets you score fold lines without cutting all the way through – critical for origami and model building.
Cost math: A 100-pack of #11 blades runs approximately $8–$9 at retail, or roughly $0.08–$0.09 per blade. A weekend of cutting might use 3–5 blades. Total blade cost: under $0.50.
| Blade Type | Best Materials | Blade Cost (100-pack) | Per-Blade Cost |
|---|---|---|---|
| #11 Pointed | Paper, vinyl, cardstock | $8–$9 | $0.08–$0.09 |
| #22 Curved | Leather, foam, rubber | $9–$11 | $0.09–$0.11 |
| #26 Chisel | Balsa, thick foam, scoring | $10–$12 | $0.10–$0.12 |
Key Takeaway: Match blade type to material. #11 for detail on paper; #22 for curved cuts in leather and foam; #26 for scoring and soft wood. Blade cost is negligible – replace when you see drag, not on a timer.
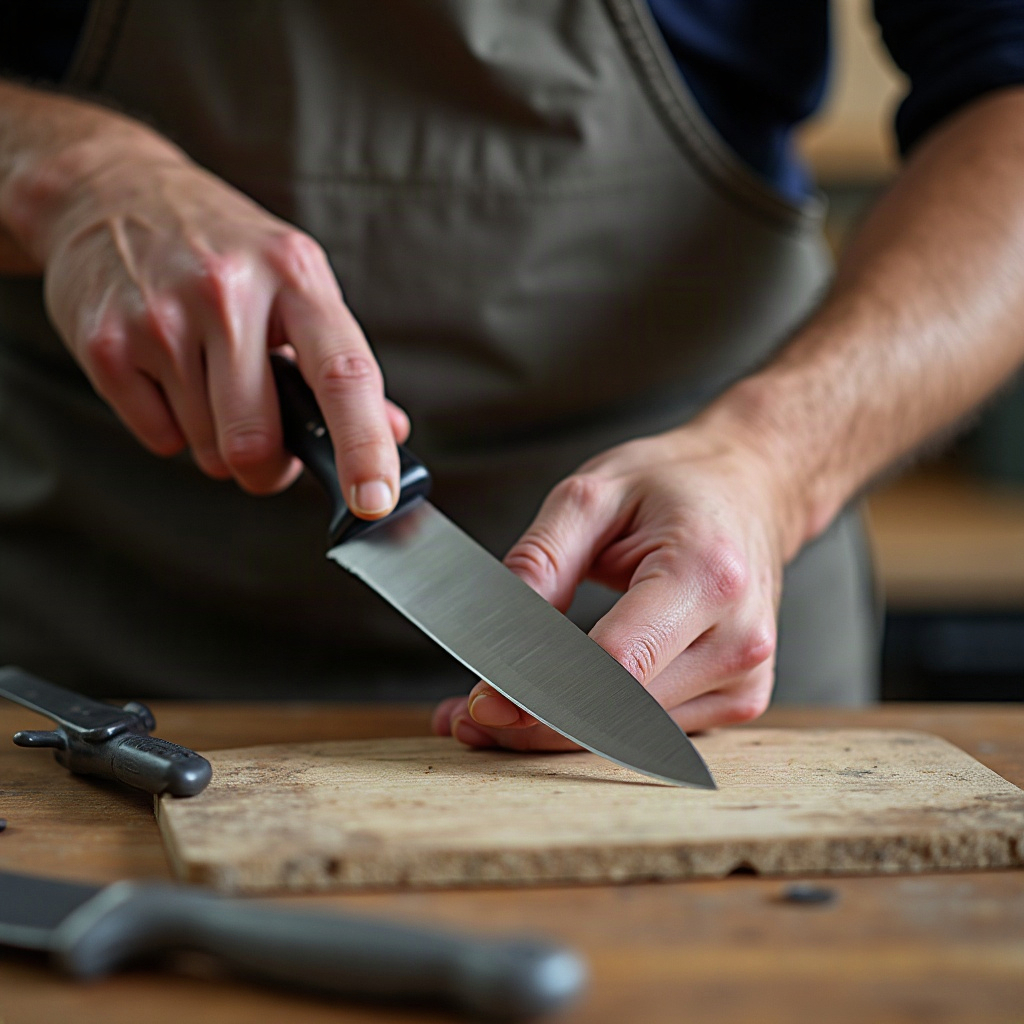
Top 5 Precision Craft Knives for DIY Projects (2026)
You need a knife that feels good in your hand, accepts standard blades, and won’t break the bank.
Budget Pick: Under $12
Best for: Beginners, occasional projects, testing the category
Exacto-style knives are essential tools for anyone working in crafting, paper art, hobby projects, model making, cosplay, woodworking, and vinyl cutting. A basic aluminum-handled knife with plastic grip runs $8–$12 and accepts standard #11 blades. Walmart’s Precision Crafting Knife with Ergonomic Handle for Detailed Cutting and DIY Projects is one example of an entry-level option in this range, featuring a simple blade-change mechanism suited to occasional crafters.
Trade-off: Smooth plastic handles cause grip fatigue after 30+ minutes of continuous use. Fine for weekend projects; not ideal for extended sessions.
What you get: Knife + 5–10 replacement blades. Blade compatibility with most standard #11-style blades.
Mid-Range Option: $15–$25
Best for: Regular DIYers, mixed-material projects, comfort priority
Precision knives in this range feature knurled aluminum handles that reduce grip fatigue versus smooth plastic. Handle diameter sits in the optimal 8–12mm range for control without hand strain.
Real advantage: Weighted aluminum body gives you better control on longer cuts. Blade-locking mechanism prevents accidental rotation mid-cut.
What you get: Knife + 10–20 replacement blades. Accepts #11, #22, and #26 blade types. Lasts 2–3 years of regular hobby use.
Professional-Grade Handle: $30–$50
Best for: Serious crafters, daily use, precision-critical work
Professional handles feature:
- Weighted aluminum construction (reduces hand fatigue on intricate work)
- Locking blade collar (prevents blade slip during pressure)
- Ergonomic grip with finger grooves
- Compatibility with swivel blades for curved cutting
Excel Blades manufactures in the USA. Heavy-Duty Precision Knife (Thicker Handle & Blade Options) is made for tougher materials such as chipboard, leather, foam board, thick cardboard.
ROI calculation: A $40 knife used 3 hours/week for 2 years yields meaningful value. Blade cost: $0.09 per blade × 5 blades/month = $5.40/month. Total annual blade cost: approximately $65. Justifiable if you’re cutting regularly.
| Price Tier | Handle Material | Blade Compatibility | Best For | Lifespan |
|---|---|---|---|---|
| Budget ($8–$12) | Plastic/basic aluminum | #11 only | Occasional projects | 1 year |
| Mid-range ($15–$25) | Knurled aluminum | #11, #22, #26 | Regular DIY work | 2–3 years |
| Professional ($30–$50) | Weighted aluminum + locking | All standard blades + swivel | Daily use, precision work | 3–5 years |
Key Takeaway: Mid-range knives ($15–$25) offer the best value for hobbyists. Knurled aluminum handles reduce fatigue, accept multiple blade types, and last 2–3 years. Budget picks work for occasional projects; professional handles justify cost only if you’re cutting 10+ hours weekly.
How Do You Set Up a Safe Precision Cutting Workspace?
Safety isn’t glamorous. But a single laceration changes your project fast.
Employers should expect to pay an average of $46,000 in direct and indirect costs per laceration injury. For DIY hobbyists, the cost is pain, blood, and ruined materials.
Cutting Mat Selection
Your cutting surface matters more than you think.
Self-healing PVC mats (5mm thickness) are the standard recommendation. They recover from cuts, extend blade life, and protect your desk. A3 size (11.7″ × 16.5″) costs $15–$20 and lasts 2–3 years of regular hobby use.
Glass mats are non-self-healing and extremely hard. While hygienic, they can cause precision blade tips to skip or deflect on intricate cuts. Reserve glass for rotary cutters, not detail knives.
Mat ROI: A $18 self-healing mat protects your desk surface and lasts 2–3 years of regular use – cheaper than replacing a scratched table.
Proper Grip Technique
Grip matters for both control and safety.
Grip the craft knife like a pencil, ensuring a firm but comfortable hold. This is your default for detail work – maximum control, minimal fatigue.
For longer straight cuts, use a scalpel grip (three-finger hold). Your index and middle fingers guide the blade; your thumb stabilizes the handle. This engages different finger muscles and reduces cramping.
For straight cuts, maintain a 45- to 75-degree angle with the surface. Angle is everything. Too shallow (30°) and you’ll drag. Too steep (90°) and you’ll lose control.
Safe Blade Disposal
Used blades are sharp. Treat them like medical sharps.
A puncture-resistant sharps container costs $5–$8 and prevents accidental cuts when reaching into trash.
Step-by-step blade change (6 steps):
- Loosen the blade collar (usually a twist or lever)
- Slide the old blade out into a sharps container – never into your hand
- Inspect the blade socket for debris; wipe clean if needed
- Insert the new blade tip-first into the socket
- Tighten the collar until snug (not over-tight – you’ll strip the threads)
- Test the blade on scrap material before returning to your project
Lighting and Magnification
Precision work demands visibility.
Position your cutting area under bright, shadow-free light (ideally 500+ lux). A desk lamp with a magnifying lens attachment ($20–$40) lets you see fine details and spot blade dulling before it ruins your cut.
Common injury prevention:
- Never cut toward your body or fingers
- Keep your non-knife hand behind the blade line
- Use a metal straight edge (not plastic – it can be cut into)
- Take a 10-minute break every 45 minutes to reduce repetitive strain
Key Takeaway: Self-healing cutting mat ($18), proper grip technique, and a sharps container ($6) form your safety foundation. Blade disposal prevents accidents; lighting and magnification prevent mistakes. Total workspace setup cost: under $50.
How to Get Cleaner Cuts: Technique Tips for DIY Projects
A sharp blade is only half the equation. Technique determines whether your cut is clean or ragged.
The Multiple-Pass Rule
For intricate cuts, use 2–3 light passes rather than one heavy stroke. This reduces material tearing and gives you more control over the cut path.
Why? A single heavy cut forces the blade through the material, causing fibers to tear. Light passes let the blade slice cleanly through each layer.
Real example: Cutting intricate paper snowflakes for wall art requires a #11 pointed blade at 35-degree angle with 2–3 light passes – not a single press-through. Your first pass scores the surface. Your second pass cuts halfway through. Your third pass completes the cut. Result: clean edges, no tearing.
Blade Angle by Material
For straight cuts, maintain a 45- to 75-degree angle with the surface.
More specific guidance:
- Paper/cardstock: 30–45° angle, 2–3 light passes
- Vinyl decals: 30° angle, single steady pass (pressure, not speed)
- Foam board: 60–75° angle for scoring; 90° for cutting through
- Leather: 45–60° angle, 2 passes (first scores, second cuts)
- Balsa wood: 75–90° angle, multiple light passes
Template and Ruler Techniques
Always use a metal ruler or straight edge when cutting with a craft knife – plastic rulers can be cut into, causing the blade to deflect dangerously.
Metal straight edges (aluminum or steel) cost $8–$15 and last forever. They prevent blade deflection and give you a true line.
For curved cuts, use a French curve template. Position it, hold it firmly with your non-knife hand, and let the blade follow the curve. Don’t rush.
Blade Dulling: The Silent Project Killer
A sharp blade is a safe blade. A dull blade is dangerous – it requires more pressure, causes tearing, and increases slip risk.
Signs your blade is done:
- Material tears instead of cutting cleanly
- You need to apply pressure (good blades cut with light touch)
- Visible edge rolling under magnification
- Drag marks on the cut surface
Replace every 2–3 hours of active cutting or at the first sign of tearing. Replace blades when drag appears (typically 20–30 cuts on cardstock), not on a fixed schedule.
Key Takeaway: Use 2–3 light passes instead of one heavy cut. Match blade angle to material (30–45° for paper, 60–90° for scoring). Replace blades when drag appears, not on a timer. Metal rulers prevent deflection; French curves guide curved cuts.
Frequently Asked Questions About Precision Craft Knives
How much should I spend on a precision craft knife for home DIY use?
Direct Answer: A mid-range knife ($15–$25) offers the best value for hobbyists. Budget picks ($8–$12) work for occasional projects; professional handles ($30–$50) justify cost only if you’re cutting 10+ hours weekly.
For most DIYers, a $20 knife with a knurled aluminum handle and blade-locking mechanism lasts 2–3 years and accepts multiple blade types. Blade replacement costs ($0.08–$0.09 per blade) are negligible compared to the knife itself.
What is the difference between a precision craft knife and a regular utility knife?
A utility knife is designed for thick cardboard and drywall. Its blade is thicker, its handle is larger, and its blade angle is fixed. A precision knife is engineered for control on delicate materials – thin blade, short handle, adjustable angle. A box cutter performs well only under the conditions it was designed for (dense, thick cardboard), while a precision knife works with thinner materials like craft paper and card stock.
How often should I replace the blade on my craft knife?
Direct Answer: Replace blades when you see drag (material tearing instead of cutting cleanly), not on a fixed schedule. Replace blades when drag appears (typically 20–30 cuts on cardstock), not on a fixed schedule.
For regular DIY use, expect to replace blades every 2–3 hours of active cutting. A 100-pack costs $8–$9, so per-blade cost is negligible. Don’t push a dull blade – it increases injury risk and ruins your cuts.
Can I use the same precision knife for paper, foam, and leather projects?
Direct Answer: Yes, but you’ll need different blade types. The knife handle stays the same; you swap blades based on material.
The #11 fine-point blade is ideal for paper, thin plastic, cardstock, light wood, vinyl. The curved #22 blade provides optimal control for cutting leather, rubber, and foam materials where curved strokes are needed. The #26 chisel-edge blade is best used for cutting softer woods like balsa, as well as thick foam and scoring applications.
A mid-range knife accepts all three blade types. Blade swaps take 5 seconds. Total investment: one knife + three blade types = under $30.
What safety equipment do I need when using a precision craft knife?
Direct Answer: A self-healing cutting mat ($15–$20), metal straight edge ($8–$15), and sharps disposal container ($5–$8) form your safety foundation. Proper grip technique and lighting complete the setup.
Grip the craft knife like a pencil, ensuring a firm but comfortable hold. Position your cutting area under bright light (500+ lux). Never cut toward your body. Keep your non-knife hand behind the blade line. Take a 10-minute break every 45 minutes to reduce repetitive strain.
Are more expensive precision knives worth it for occasional DIY projects?
Direct Answer: No. A $20 mid-range knife handles occasional projects perfectly. Professional handles ($30–$50) justify cost only if you’re cutting 10+ hours weekly or working with tough materials like thick leather or balsa wood.
For weekend crafters, a mid-range knife with a knurled aluminum handle and locking blade collar is the sweet spot. You get comfort, durability, and multi-blade compatibility without overpaying for features you won’t use.
What cutting mat thickness works best with precision craft knives?
Direct Answer: 5mm self-healing PVC mats are the standard recommendation. They recover from cuts, extend blade life, and protect your work surface. A3 size (11.7″ × 16.5″) costs $15–$20 and lasts 2–3 years of regular hobby use.
Glass mats are non-self-healing and can cause blade-tip deflection on detail work. Reserve glass for rotary cutters. Thin mats (2–3mm) wear out quickly and don’t protect your desk adequately.
Ready to Get Started?
For personalized guidance and product recommendations tailored to your specific DIY projects, visit Knife Depot’s precision knife collection.
Conclusion
Precision craft knives aren’t complicated. Match the blade type to your material. Replace blades when drag appears. Use a self-healing mat and metal straight edge. Take breaks to prevent repetitive strain.
The real difference between a frustrating DIY project and a satisfying one often comes down to the tool. A $20 precision knife with the right blade and proper technique transforms messy cuts into clean, professional results.
Start with a mid-range knife, a 100-pack of #11 blades, and a self-healing mat. Total investment: under $40. Your first project will tell you whether you need specialized blades (#22 curved, #26 chisel) or a professional-grade handle. Most hobbyists never need to upgrade beyond that.
Ready to cut cleaner? Knife Depot carries precision craft knives across all price tiers, plus blade variety packs and cutting mats. Start with their mid-range selection and build from there.
Your next DIY project is waiting. Make the cut count.


Leave a Reply